Amazon Elastic Compute Cloud (EC2) is a web service offered by Amazon Web Services (AWS) that provides resizable compute capacity in the cloud. EC2 allows users to rent virtual machines (instances) on which they can run their own applications. These instances can be easily scaled up or down based on demand, providing flexibility and cost-effectiveness.
If you want to visit the official AWS Documentation the click on below link to see the documentation:
Offficial AWS EC2 Instance Documentation
Pre-requisites:
- You should have AWS free-tier account
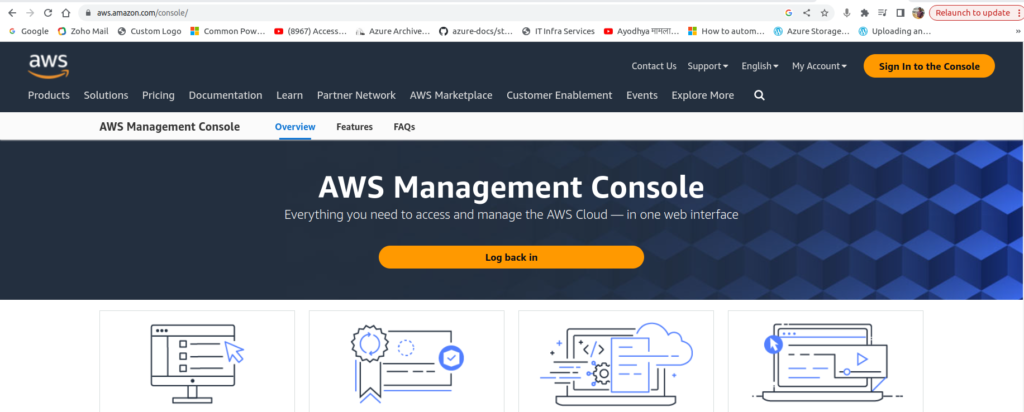
Step 01: Login the AWS Account
Click on below to login AWS account
https://aws.amazon.com/console/
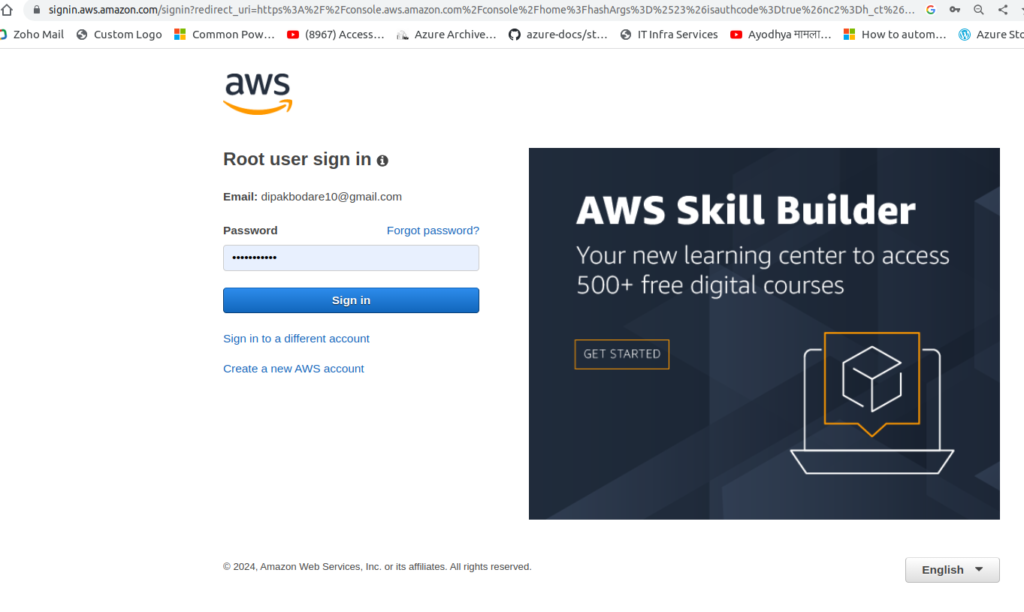
Use your username and password to login aws account
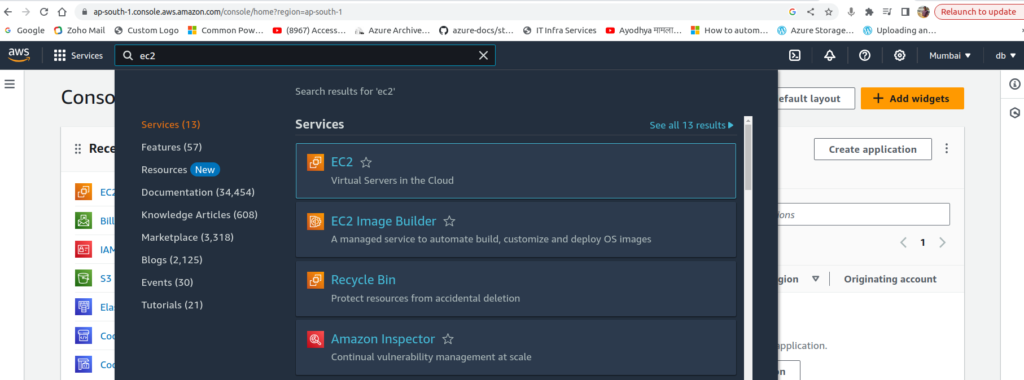
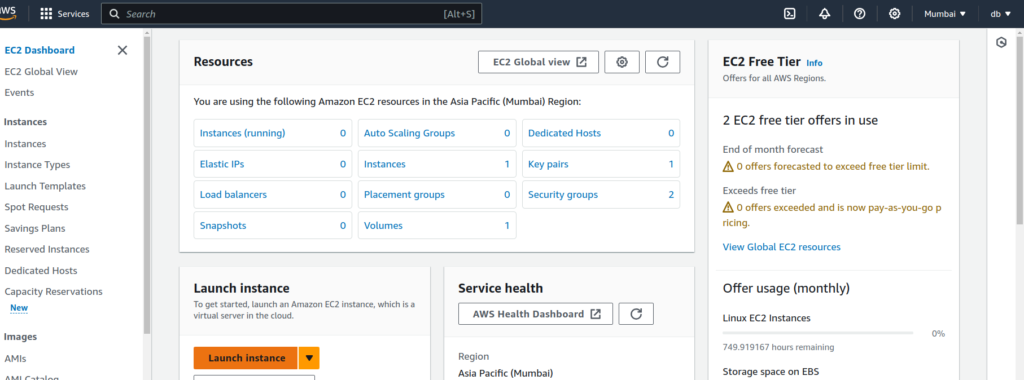
Step 02: Click on EC2 Service
- Search EC2 in the AWS search box
- Click on EC2 option
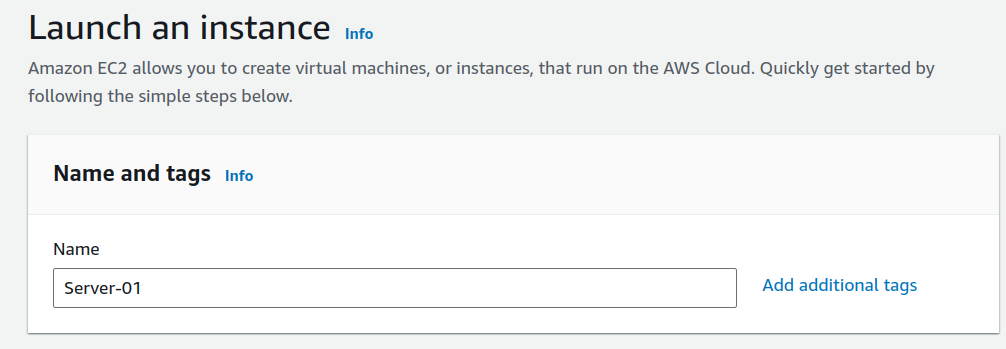
Step 03: Click on Launch Instance
Step 04: Add the Name of EC2 instance
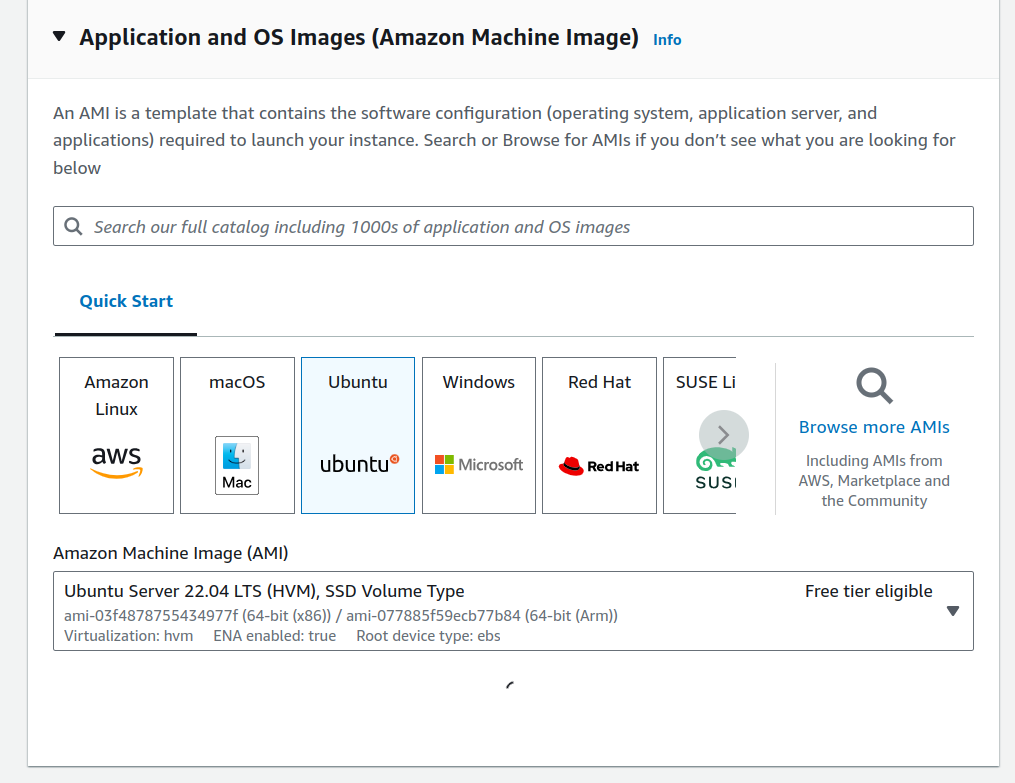
Step 05: Select Application and OS image (“Ubuntu 22.04 LTS”)
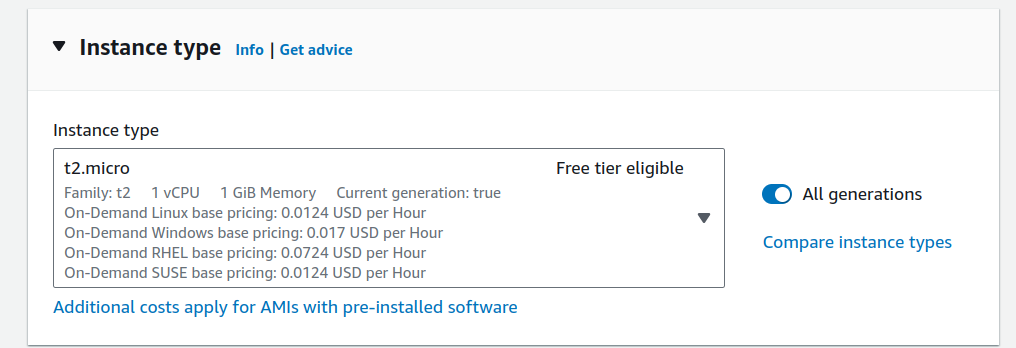
Step 06: Select Instance Type
We are using here t2.micro as a instance type.
But in production environment, You should use t2.medium or t2.large instance as per your requirement
Step 06: Select Key Pair
A: Select key pair from drop down menu if you have alreadty created it
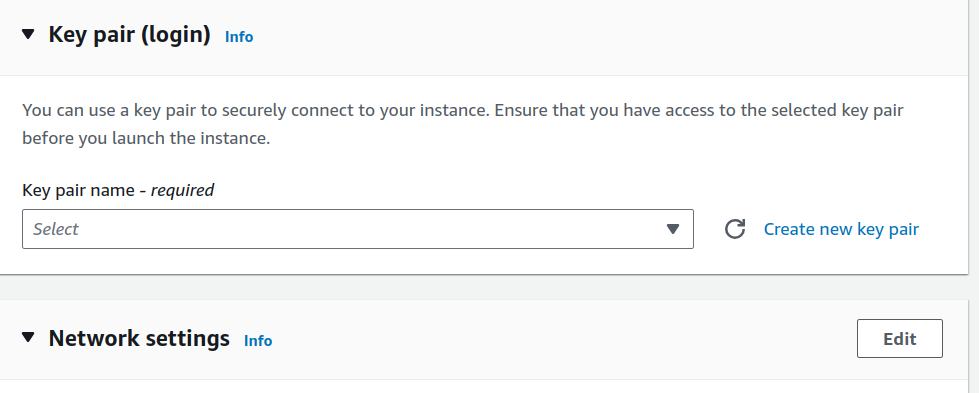
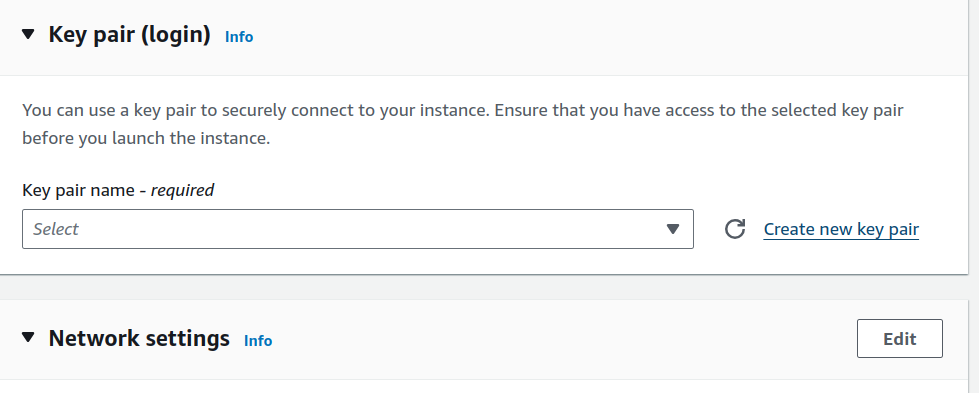
B: Create a new key pair if you dont have it
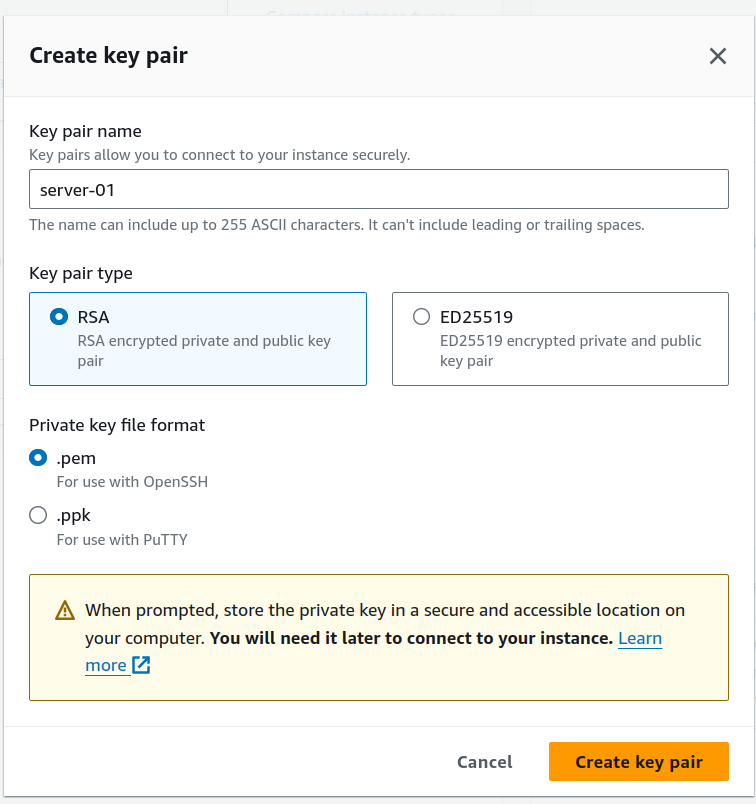
click on “create a new key pair”
Fill the key details and click on “create key pair button“
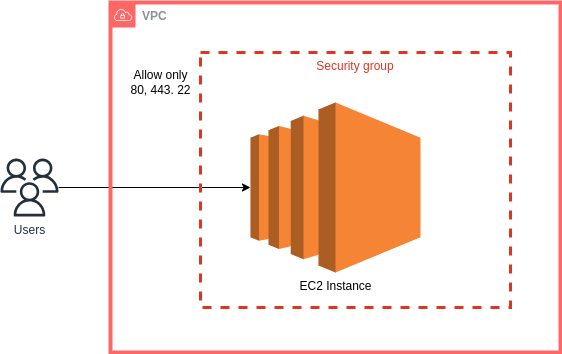
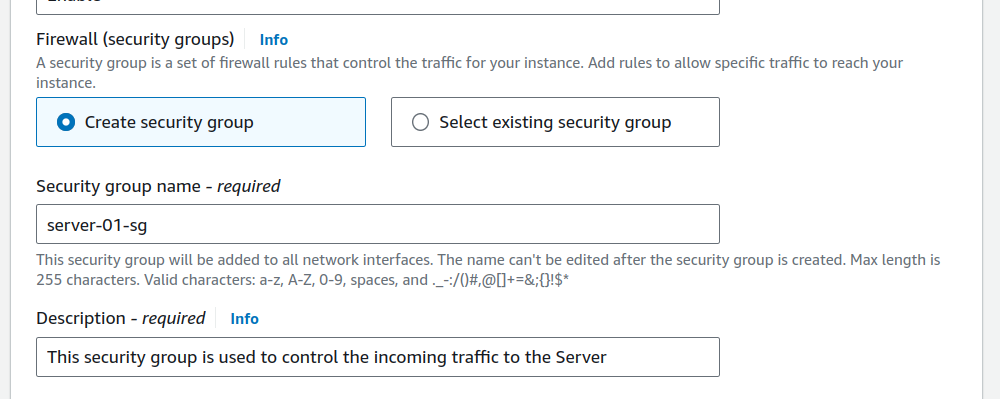
Step 07: Create New Security group
Click on Edit Button to Create and tag the name to the security group
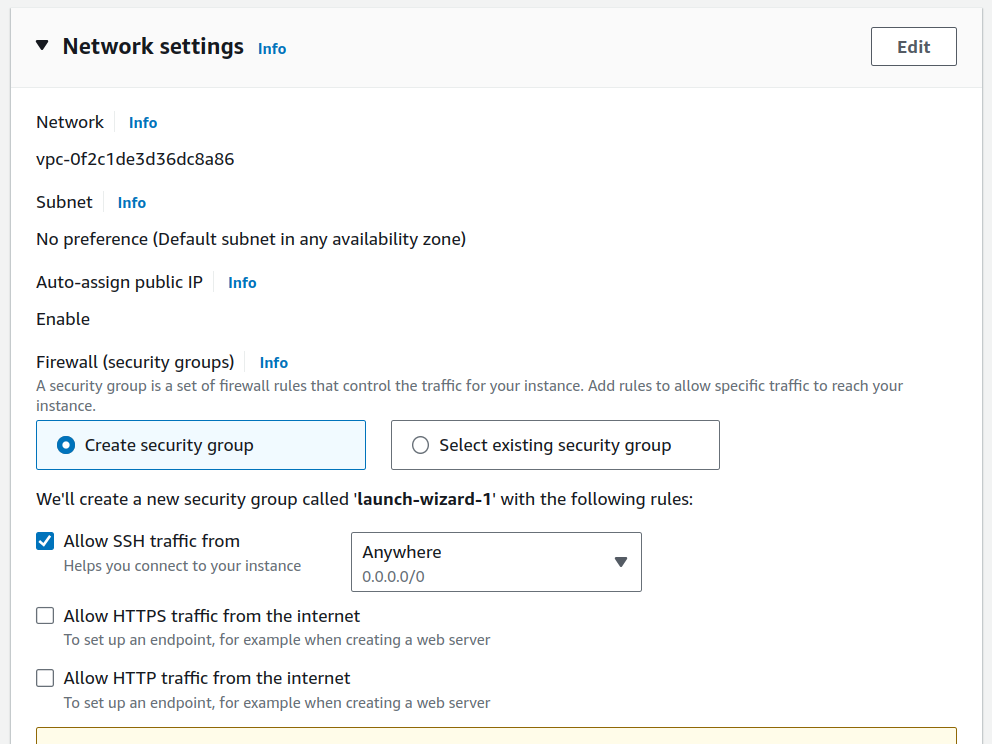
Add Security group Name and Description
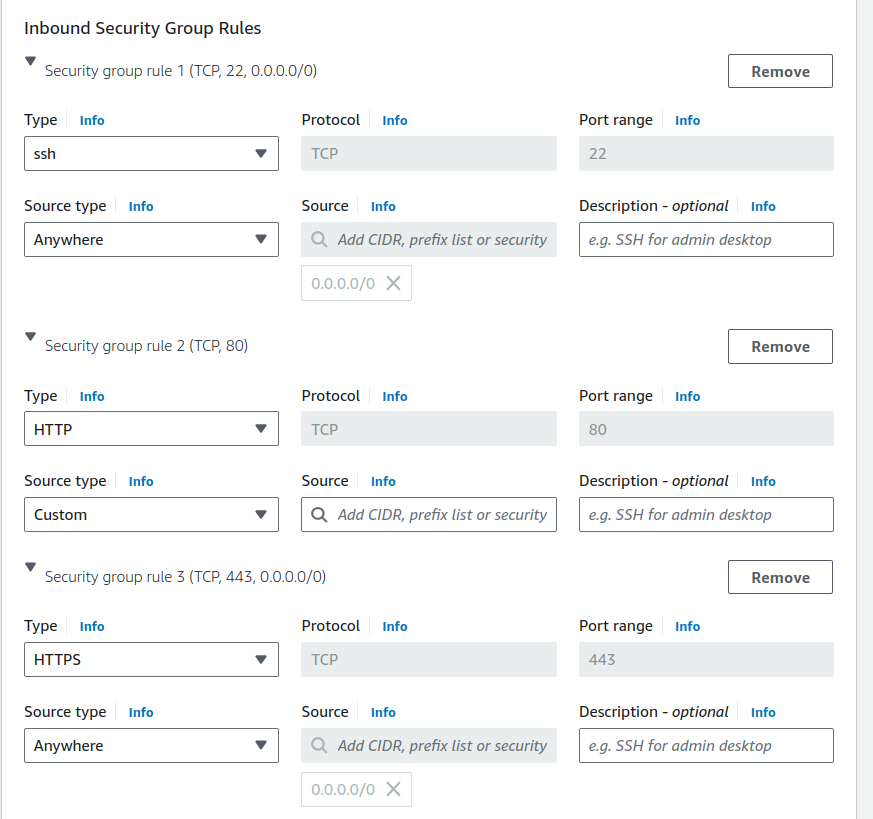
Add the below ports in the security group. Please do not open any other ports.
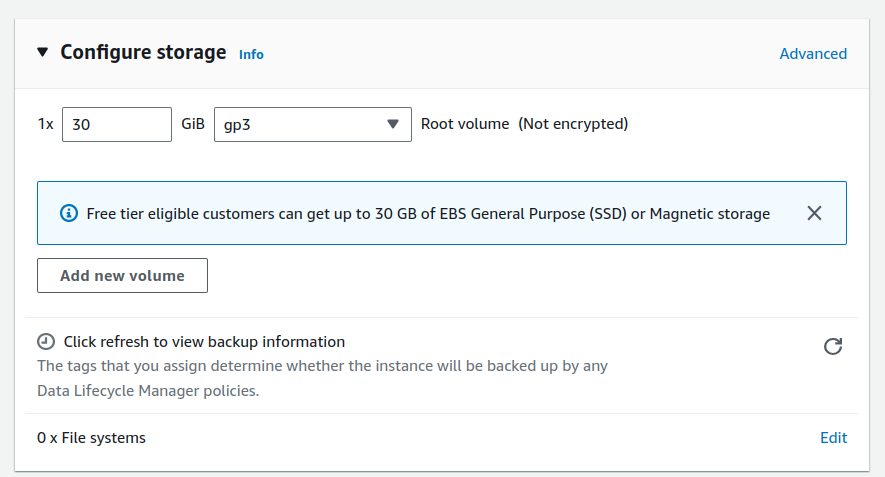
Step 08: Configure Storage
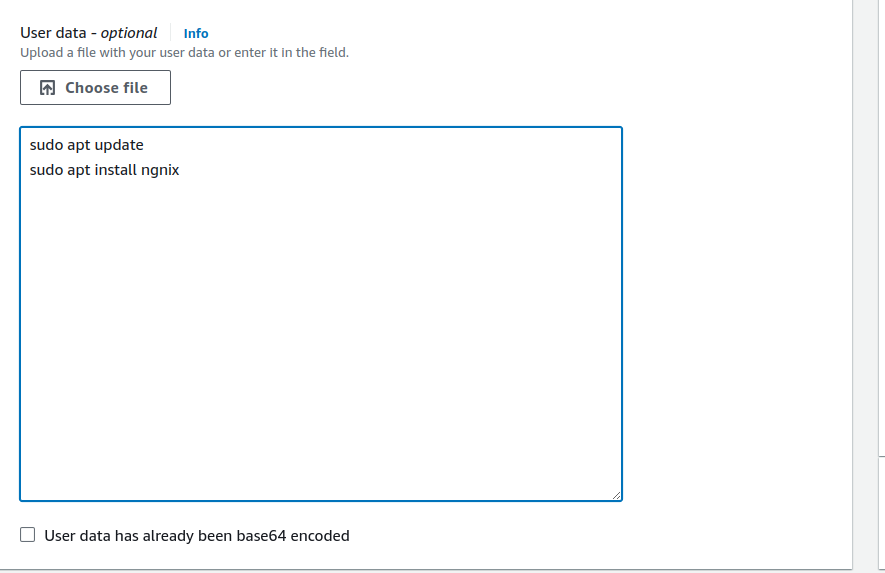
Step 09: Configure advanced Details
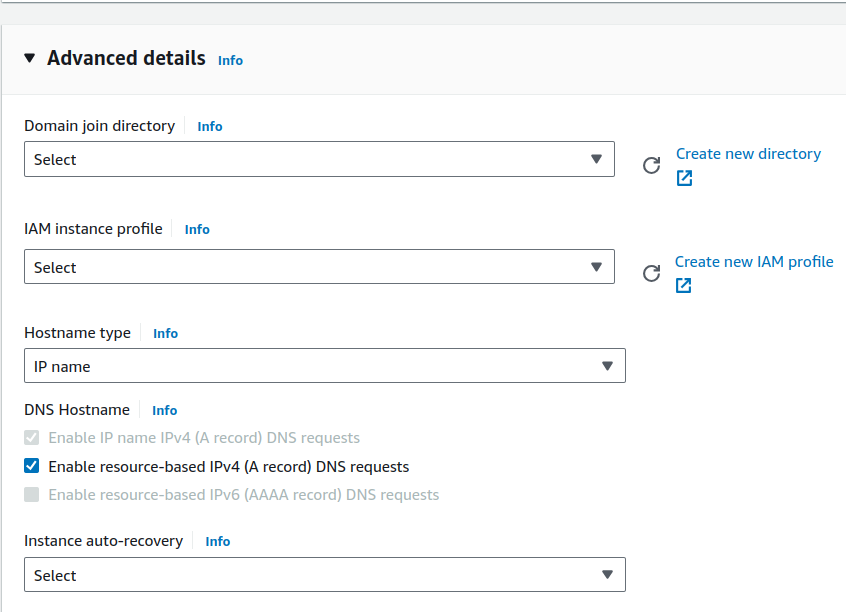
Add User data if you want to add or update servers at the time of creating new server
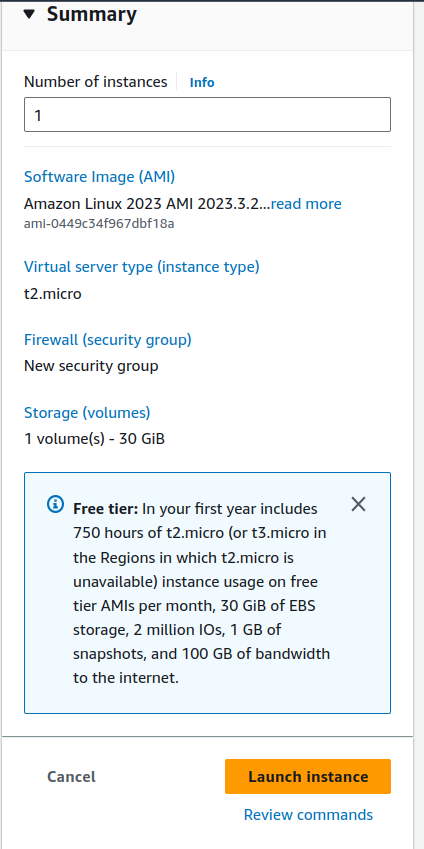
Step 10: Create Instance
Add the count of how many server you want to create at a time and click on Launch Instance Button
Execellent Job Bro. Keep updating Blogs like this.