Main Features of nodejs plugins are as follows:
- Provides NodeJS auto-installer, allowing to create as many NodeJS installations “profiles” as you want.
The auto-installer will automatically install a given version of NodeJS, on every jenkins agent where it will be needed - Allows to install globally some npm packages inside each installations, these npm packages will be made available to the PATH
- Allows to execute some NodeJS script, under a given NodeJS installation
- Allows use custom NPM user configuration file defined with config-file-provider plugin to setup custom NPM settings
- Add a lightweight support to DSL pipeline
- Force 32bit architecture
- Relocate npm cache folder using pre defined strategies
- Allow use of a mirror repo for downloading and installing NodeJS.
- Cache NodeJS archives per architecture to speedup installations on ephemeral Jenkins slaves.
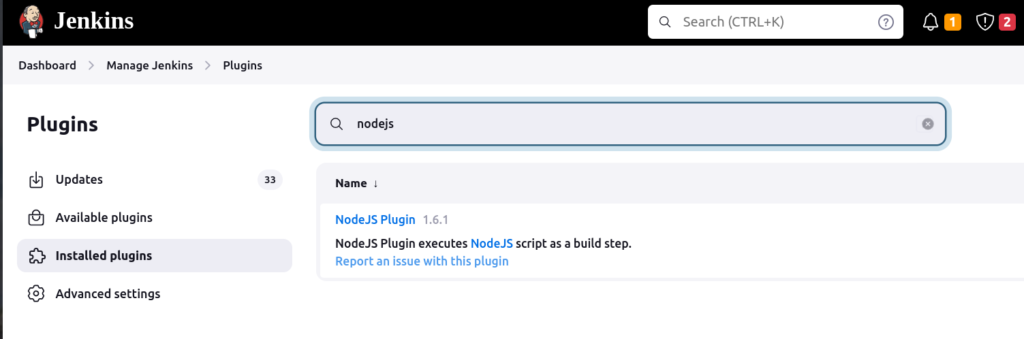
1. Install nodejs plugins on jenkins
Go to
Manage Jenkins →Plugins → Available Plugins →Search for nodejs Plugins -> Install without restart
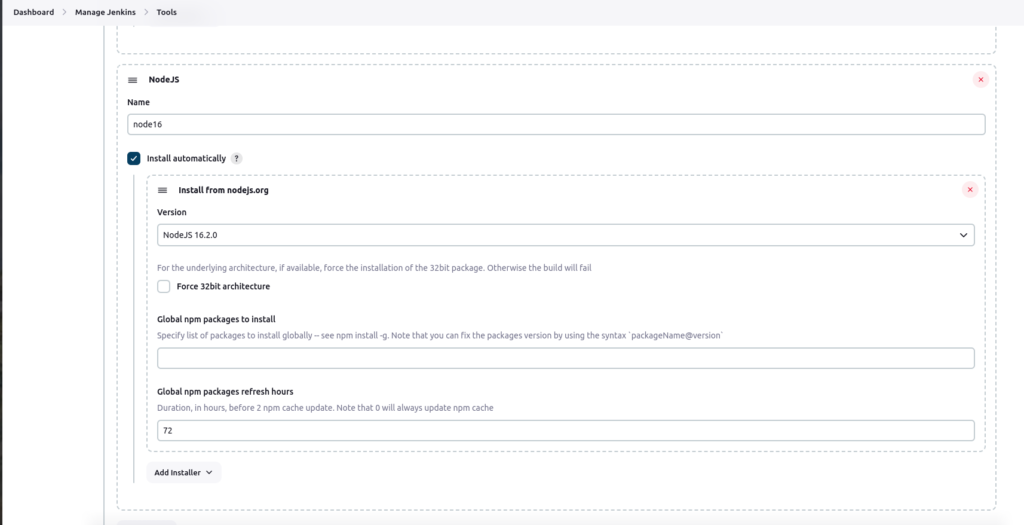
2. Configure nodejs tool in the global tool configuration:
Go to
Manage Jenkins → Tools → click on nodejs installations
Fill the following information
- Name: node16
- Click on “Install Automatically”
- Install from the nodejs.org (select the specified version)
- Click on Apply and Save
This “node16″ Name is very important because you will use the node16 name as a tool in the scripted pipeline
3. Use nodejs in the Jenkins scripted pipeline
You can use the nodejs in the scripted pipeline are as follows:
pipeline{
    agent any
    tools{
        nodejs 'node16'  #node16 is the name that given the global tool configuration
    }